You
can easily find the basic parts you need at Michael’s or a similar Craft
Store.
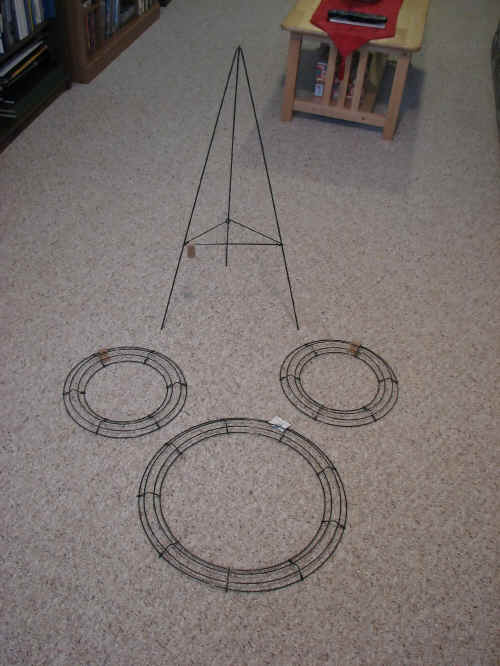
You will need:
One 18 inch
wire wreath frame
Two 12 inch
wire wreath frames
Plastic wire
ties
One 12 foot
rope light
(I have also used 18 foot rope lights)
Michael’s
also sells a wire easel which your completed light will stand on, or you can
simply hang it on a wall, on a fence or from a tree.
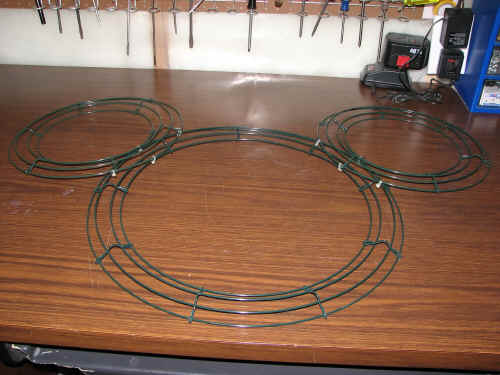
Here’s a
picture of the basic parts.
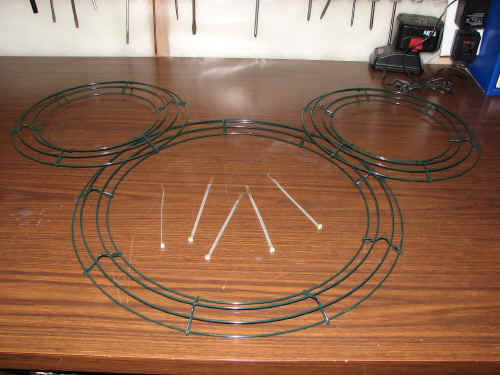
Peel off
any tags or paper and lay the wreath frames on a work surface in the basic
Mickey head configuration.
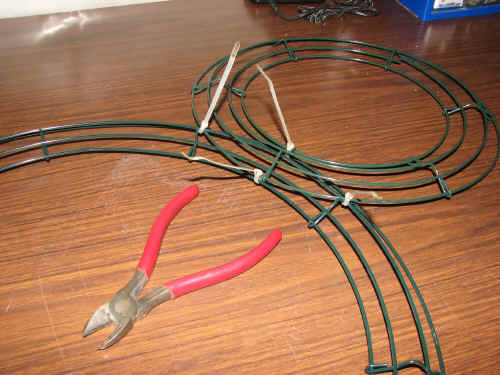
Now
begin to tie the frames together using the wire ties. My wire ties are about
5 inches, but the size is not really important.Here are a few pictures to show how the ties are applied.
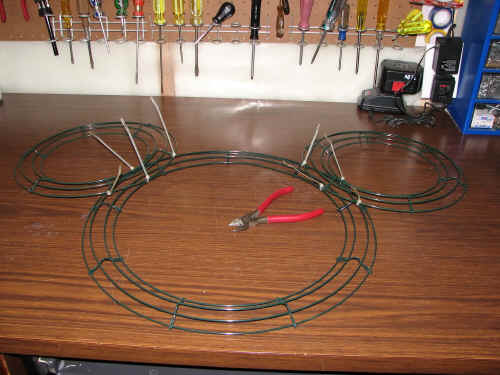
Now
simply use wire cutters to cut the “tails” off the wire ties. Then use
your fingers to twist the wire ties so that the little locking block is at
the back out of sight.
Voila
– you have a Mickey head and now you are ready to attach the rope light.
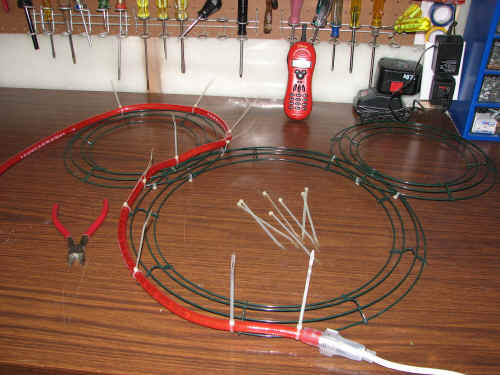
Start with the
plug at the bottom and use wire ties to attach the lights to the outer wire
on the 18 inch ring. When you get to the smaller ring (the ear) continue
around the outer edge of the larger ring and then turn to go up the far side
of the ear. Here's a picture of what I mean:
When you've gotten this far, snip off
those "tails" and turn those little locking blocks to the back,
out of sight and out of the way.
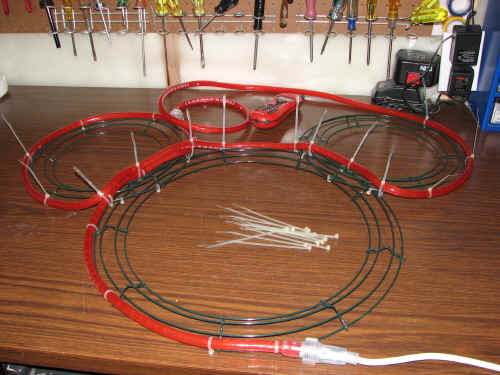
Now
continue to attach the rope lights around the ear and then place the rope
directly on top of the first strand where they overlap. Make sure they are
one on top of the other when you tighten the wire tie. This will ensure that
you only see one strand when they are lit up. I think it's a
"cleaner" look that way. Carry on with the wire ties all the way
across the top of the Mickey head to the far side of the second ear and then
turn them up the ear again.
Here's
another picture:
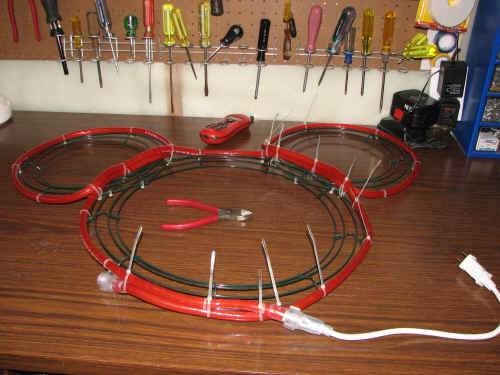
This
is where you trim the "tails " and turn the locking blocks again.
Now continue around the ear and carefully overlap the strands at the bottom
of the ear. Keep right on attaching the rope around the edge of the larger
ring until you reach the end with the plug attached. You will have a little
bit of extra rope light. I put it under the first strand so the
"connector" is more or less out of sight.
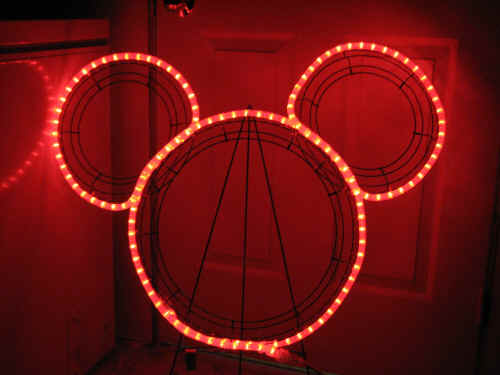
It should look
like this:
Trim
those tails and turn those blocks, and you're done. Aren't you proud of
yourself? You've just made a Rope Light Mickey.When you plug it in it will look like this:
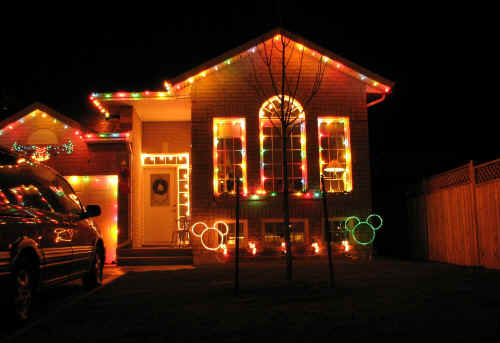
I wanted the
rope light on the right to look like a Mickey Mouse balloon with a long string.
I used an 18 foot long rope light which has a remote control to change
colours and functions. I really like the 'sparkle' function!
Click on the
arrow in the middle of the image to watch a 20 second video.
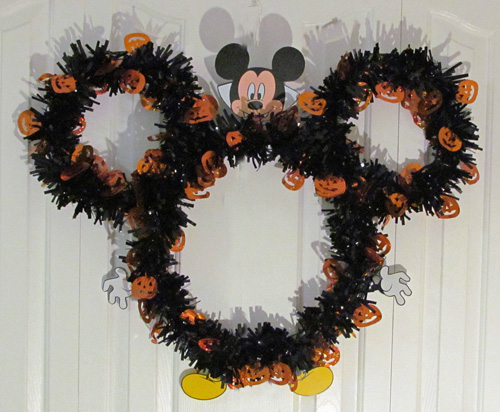
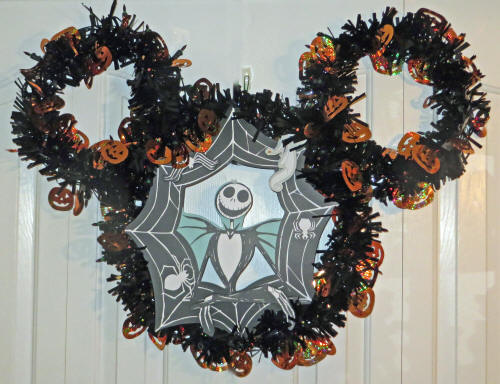
If you're looking
for a Mickey Mouse wreath, just add some seasonal garland! Everything
can be attached with small wire ties.
If you have a few
special Disney decorations they can add some character too!
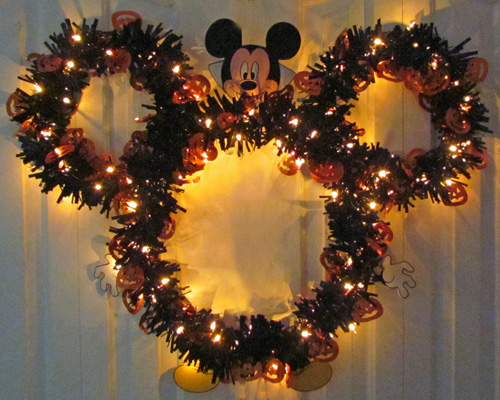
A string of seasonal lights can be used instead of the
rope light to give your wreath a festive glow!
Add a string of
lights, some garland, a few antenna toppers and a Minnie Mouse doll to make
a festive Christmas wreath!